


The day you have been patiently waiting for has finally arrived . . . I N S T A L L A T I O N D A Y! As exciting as it is, it can also be a bit hair-raising having the entrance of your home totally torn apart. We have found that the more our clients understand what is involved in the delivery, installation, and remodeling of their front entry beforehand, the better their experience.
Let’s start by saying this is not a simple remove your door from its hinges and replace it with a new door situation, this is a remove your door, jamb, casing, and all drywall and stucco within the new space situation. It’s a BIG deal, but lucky for you we’ve been doing this for well over 20 years and many of our installers have been with us for just as long . . . so you are in good hands. While each project is unique and comes with its own set of challenges, below we have broken down the basic steps involved in transforming your existing front door into a stunning new entry that is sure to add some serious CURB APPEAL to your home.
Installation & Remodeling
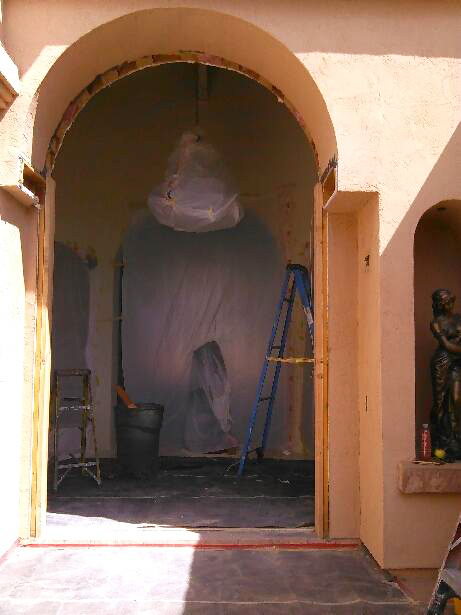
Step 1: Prepare for Installation
It is a good idea to remove any personal items such as wreaths, signs, and rugs from your door and the surrounding area. Our installers will take great care in preparing the area for demo by hanging plastic at walkways, covering the floor, and protecting installed items such as chandeliers; but this is a big job and even with our best efforts, it will get dusty. Prepare yourself and your home accordingly.
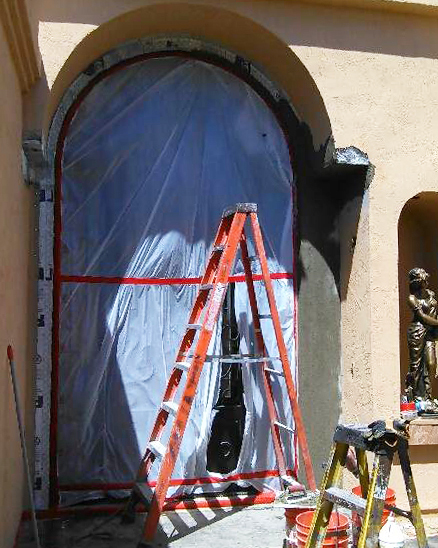
Step 2: Demolition
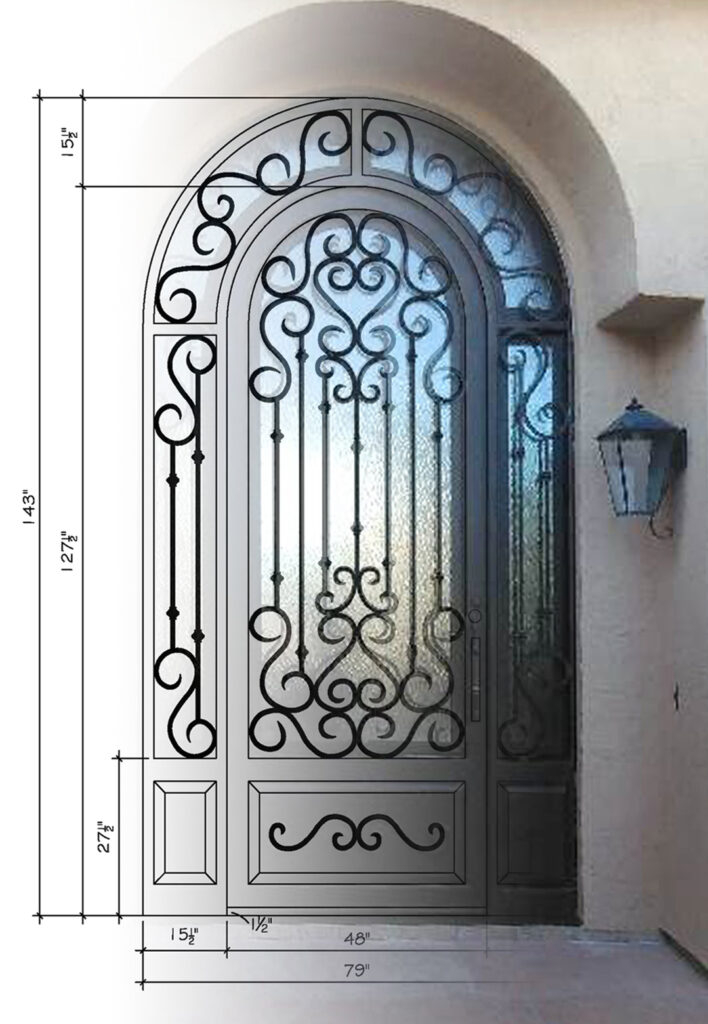
BUCKLE UP. . . This is the messy part! During the demo, your current door, jamb, and the casing will be removed and properly disposed of. We will also remove the required stucco, drywall, and framing before reframing the rough opening as specified in your CAD drawing. For more information on understanding your CAD drawing click the following link.
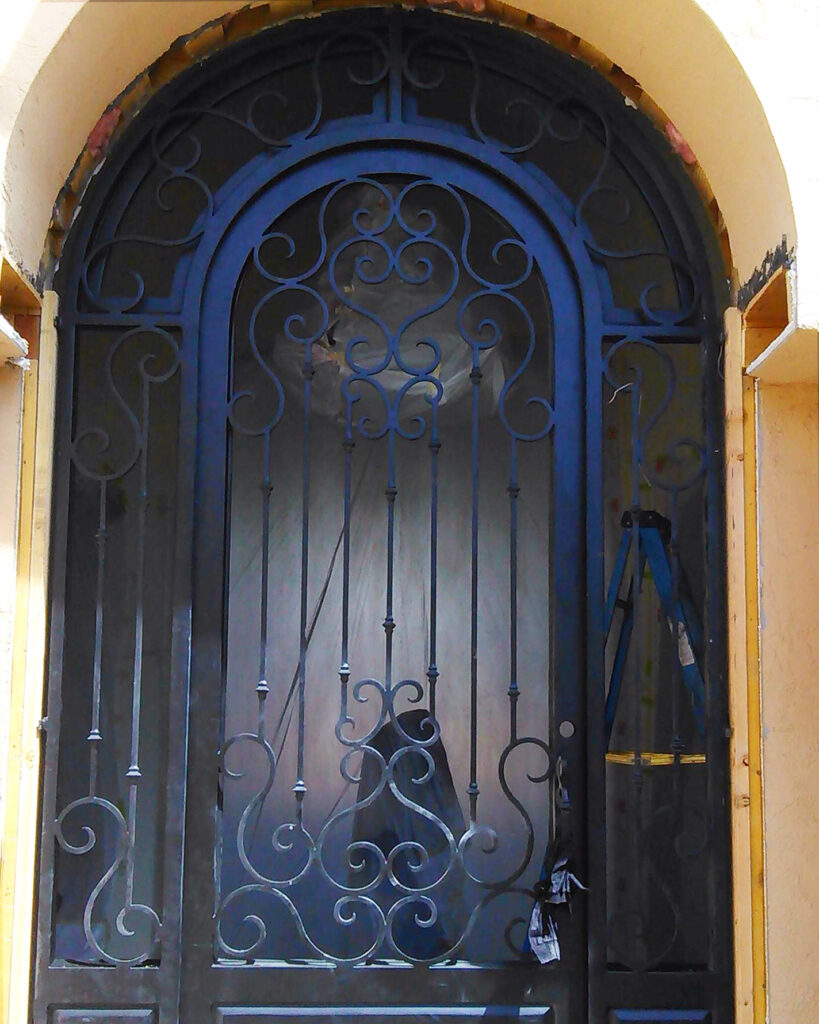
Step 3: Installation of Door
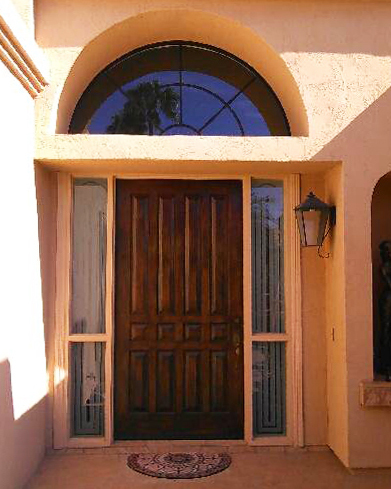
Your custom-designed door is installed into the newly framed rough opening, securing your home. As you can see around the perimeter of the door, your remodel is not complete. It will look like this on both interior and exterior until the required remodeling services are completed to properly finish the project.
At this point you have the option to have Visionmakers take care of the finishing remodeling or you are welcome to have your own contractor take care of this for you.
Step 4: Remodeling Services
The required remodeling services include repairing stucco on the exterior, drywall on the interior, and touching up the paint. Note: the matching touch-up paint must be provided by the homeowner.
Additionally, some other common areas that may need to be addressed are the floor where the existing material meets the new threshold and the baseboard where the vertical casing is removed. These are common remodeling issues that will be discussed during a site measure to ensure we have all the required materials at the time of installation.
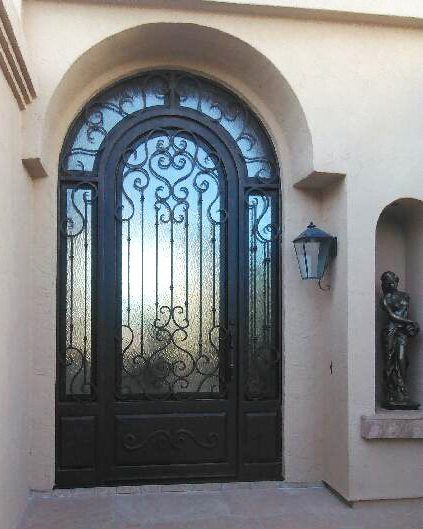
Step 5: Complete
2-3 days later you will have a fully complete remodel featuring your new custom entry door, guaranteed to not only increase your home’s value but to bring you joy for years to come.
PS. Visionmakers LOVES seeing pictures of our work in your finished projects! We would really appreciate you dropping a beautiful AFTER image in your salesperson email or tag us on Instagram @visionmakersinternational.